
Tutorial — Map & Exploration
Full Map Guide: Unlock Order, Sale Points & WavesClean all the leaves!
The deep-dive map page: every area's unlock condition, the four sale points pinned by footage, the confirmed wave data, and how to find the rest yourself. The page for "how do I open X" and "where is the vent in Y."
The deep-dive map page. The main Yards page covers the map systems; this page goes area by area with what players actually search for: how each area unlocks, where the sale point (vent) is, and how many waves each area takes. Everything here is measured from gameplay footage — the game itself does not publish a labeled map.
The Map at a Glance
- Areas unlock in sequence; every area shows its own completion percentage in the progress bar at the top of the screen (footage: "Front Yard 4.8%", "Garage 41%", "Rooftop 85%").
- Three ways an area opens:
- Paid gate — a Cash price shown on a door or gate.
- Completion gate — an earlier area must be cleaned to 100%.
- Puzzle gate — find and press a button or key-like object.
- Waves — most areas re-sweep. Clear the current wave, the game prompts "second wave" (or "another wave"), fresh leaves fall, and after the final wave the area stays permanently clean. There is no endless respawning.
- The video-confirmed area list (from a full playthrough): Front Yard, Porch, Garage, Basketball Court, Rooftop, Pool, Farm/Maze, Basement — plus a hidden secret-ending room reached after the Basement. The Shed is a facility (shop + garage button), not a cleaning area.
The Areas
Front Yard
The starting area — where you spawn, learn the loop and earn your first Cash.
- Unlock: Free — the game starts here.
- Sale point: A vent sits in the front yard and near the garage (footage shows both, close to the main work). It is the shortest dump run in the game — spot the metal grate on the way in.
- Waves: No recorded count; treat as multi-pass.
- Details: Progress bar shows the area percentage ("Front Yard 4.8%"). The garage and the Shed (shop) are reached from here. The Frontyard special leaf sits at the side of the wooden fence near the building/garage corner — bright green, guaranteed spawn, +3 Diamonds.
Porch
An early area adjacent to the starting ground.
- Unlock: Not publicly recorded — check the gate for a price tag (paid) or the Front Yard percentage (completion).
- Sale point: Not recorded. Use the search habit below (enter the area, walk the edges, look for the grate).
- Waves: Not recorded. Watch the task indicator for a "Wave x/y" readout.
- Details: Appears early in the full-playthrough footage; treat it as an early income extension.
Garage
The most documented area besides the sale point.
- Unlock: Not cash — press the button. The garage door cannot be bought or opened from the door prompt. Go inside the Shed (the main shed/house where the upgrades and tools live), walk to the front counter next to the green leaf bag, and press the large round red button. That activates the mechanism and opens the garage door.
- Sale point: A vent sits near the garage (footage).
- Waves: Not recorded.
- Details: Inside is a closed wooden space with dense yellow leaf piles and glowing special leaves — a green-veined Garage leaf plus sapphire and ruby variants. A high-value sweep once opened.
Basketball Court
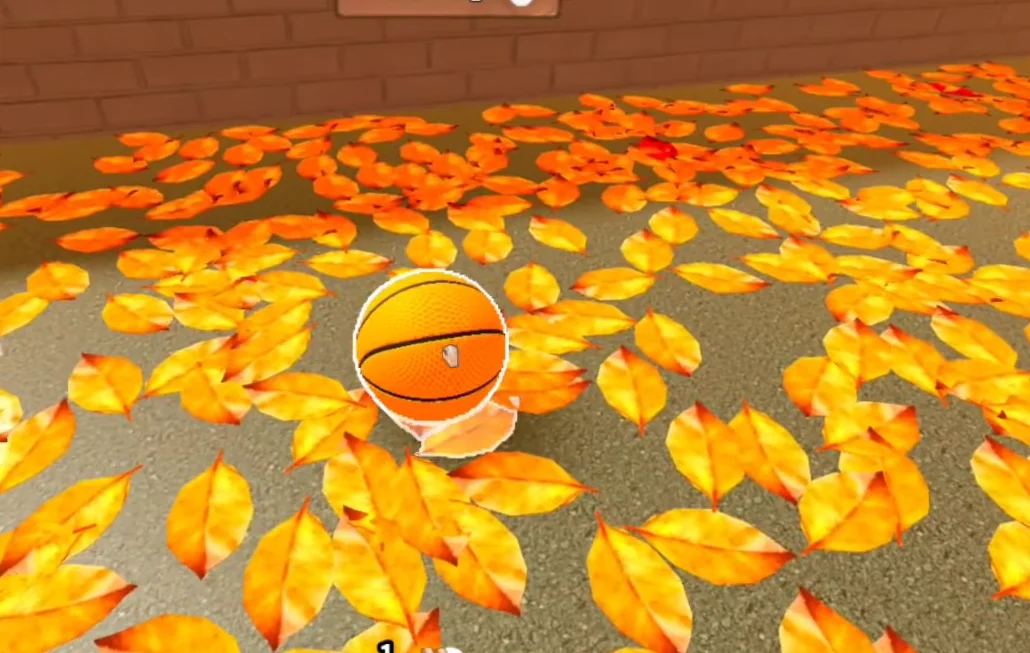
A basketball court on the house map — confirmed by gameplay video, and the only area with a named minigame.
- Unlock: Not publicly recorded.
- Sale point: Not recorded.
- Waves: The task indicator shows "Wave 0/1" in footage — at least one wave cycle.
- Details: The "Swish 3 times in a row" quest auto-accepts in the Journal / Objectives. Pick up the basketball on the court, and make three consecutive swishes (clean shots that go through with no miss). If you miss once, the streak resets. After one shot goes in, stay in the same spot and repeat the same angle. Each swish pays +$0.01; three in a row completes the quest automatically.
Rooftop
A later area, reached by finishing the front of the property.
- Unlock: Front Yard at 100% (video-based guide; single source).
- Sale point: Not recorded.
- Waves: Not recorded.
- Details: Elevated layout (footage shows "Rooftop 85%"). Expect leaves on ledges and camera-dependent hiding spots. A special leaf is confirmed here (location not yet pinned in this guide).
Pool
- Unlock: Not publicly recorded.
- Sale point: A vent sits beside the pool (footage).
- Waves: Wave behavior confirmed — the wave prompt appears in footage of the Pool.
- Details: Listed in the collection log; a special leaf is confirmed in the pool area (location not yet pinned). Time-saver (mansion map): blow the leaves around the pool straight into the water — they clear without extra bag trips.
Farm / Maze
Farm and Maze appear as one combined area in the full playthrough footage ("Farm/Maze", the farm-maze zone).
- Unlock: Not publicly recorded; footage places it late in the order.
- Sale point: A vent sits in a corner of the farm/maze zone (footage).
- Waves: Not recorded — multi-pass behavior likely.
- Details: Rare-leaf content: the collection log lists a Maze Leaf, ~7%, and special leaves are confirmed in the farm/maze zone (locations not yet pinned). The maze itself is pure navigation — follow the corridors, pass the prominent wall then the "big wall", and the exit appears shortly after. No items or power-ups required.
Basement
The story area — the first "chapter" ends here.
- Unlock: Reached via progression; the specific condition is not recorded.
- Sale point: Not recorded.
- Waves: Not recorded.
- Details: Clearing the basement triggers the reveal: you wake trapped in a lab dish, watched by your own friends. The room holds books, boxes and monitor screens that have been live-broadcasting your own cleanup — and a large liquid vat with a shrunken copy of you inside. Turn around and the watchers are your friends. Round clears after the scene. Playful suspense, not horror — no jumpscares.
Secret Ending Room
- Unlock: After clearing the Basement, a hidden door opens down into the underground chamber.
- Details: The true ending shows it all: a carpeted underground room packed with clutter and boxes, two glass incubation tanks with green liquid, a wall of monitors live-streaming the ground-level cleaning, and a mysterious figure seated at the monitoring chair — the one who has been watching you.
Sale Points (Vents) — Confirmed Spots & How to Find the Rest
Footage has now pinned the sale point in several areas:
| Area | Sale point (video-observed) |
|---|---|
| Front Yard | In the front yard, close to the garage/front work area |
| Garage | Near the garage |
| Pool | Beside the pool |
| Farm / Maze | In a corner of the farm/maze zone |
What they look like: square or round metal grates set into the ground or against a wall — often in "background" geometry players walk straight past.
How to find one in 30 seconds (for the unconfirmed areas): enter the area, walk the edge once, keep the camera low — the grate shows up before your first full bag. In a 12-player lobby, call it out once; everyone finding their own vent is the classic co-op time sink.
Bonus: in some areas the vent doubles as a traversal route into pockets you cannot reach on foot. Before committing a full bag, check whether the route is one-way or a connector.
Waves — What Each Area Actually Takes
The wave counter lives in the task indicator ("Wave 0/1" on the court). That readout is the authoritative answer for any area — here is the confirmed data so far:
| Area | Wave data |
|---|---|
| Court | "Wave 0/1" indicator in footage |
| Pool | Wave prompt confirmed in footage |
| All others | Not recorded — treat as multi-pass |
How to check any area in under a minute: clear the visible leaves, then stand still and watch the task indicator. If a "second wave" / "another wave" prompt fires, you are not done — clear again. If the counter shows x/y, that is your number. Treat every area as potentially multi-pass: an area that looks done may have a wave waiting, which is exactly how people end up one percent short of 100%.
After the Round: Rewards & the Lobby
Clearing a round pays a lump of Gems at the results screen ("Round Cleared"). Gems are spent in the main lobby on:
- Spinning for a Class — the class gacha (rare-tier classes like Handyman have a very low draw rate, e.g. ~2%).
- Permanent upgrades — bag capacity, move speed and income multiplier.
That economy lives on the Currency and Classes pages; this page just notes where the gems come from.
Two Maps, a New Map, and a Backyard
The game never states how many maps exist. Footage shows at least two:
- Map 1 — the house/yard: Front Yard, garage, basketball court, rooftop, pool, farm/maze, basement and the secret ending room.
- Map 2 — the mansion: after the house story, you are shoved into a van, kidnapped and threatened to keep cleaning — the second map continues the story. A fast-clear video confirms its layout: Porch, Left Alley and Right Alley are the small clearings you sweep first to stack income; there is a main front area you save for later; a Pool where leaves can be blown straight into the water to skip bag trips; and a final Maze that leads to an exit hatch. The mansion also has its own vents to unlock. The exact full area list is still being confirmed.
- A possible Map 3: a recent video is titled "Clean all the leaves! NEW MAP! UPDATED & FINISHED!" — a strong hint that new map content exists (possibly the Aug 12 update), but its contents are unverified.
- A "Backyard": search topics reference "how to unlock the backyard," which would add an area beyond the list above — unconfirmed, possibly newer content.
None of this changes the mechanics — the same gates and wave system apply everywhere.
FAQ
How do I open the garage?
Not with cash. Go into the Shed, find the large round red button on the front counter next to the green leaf bag, and press it — that opens the garage door.
What is the full unlock order?
Partly recorded. Front Yard is free; Rooftop opens at Front Yard 100%; Garage opens via the Shed button; the rest are not publicly documented — check each gate for a price tag (paid), watch the previous area's percentage (completion), and look for a button (puzzle).
Where is the vent in each area?
Pinned for four areas by footage: Front Yard (near the garage work area), near the Garage, beside the Pool, and in a corner of the Farm/Maze. For the rest, no coordinates have been confirmed — sale points are metal grates on the ground or walls, so spot one on the way into an area (30-second method above).
How many waves does each area take?
Two data points exist: the court shows "Wave 0/1" and the Pool has a confirmed wave prompt. For every other area, read the task indicator's wave counter — that is the per-area answer.
Is there a third map?
Unverified. A recent "NEW MAP" video and "how to unlock the backyard" topics both point to new content, but nothing is documented yet.
Does the whole map matter for 100%?
Yes — the counters feed a global total, and the secret ending needs 100%. Unlocked-but-uncleaned areas and unopened gates are where leftover percent hides.